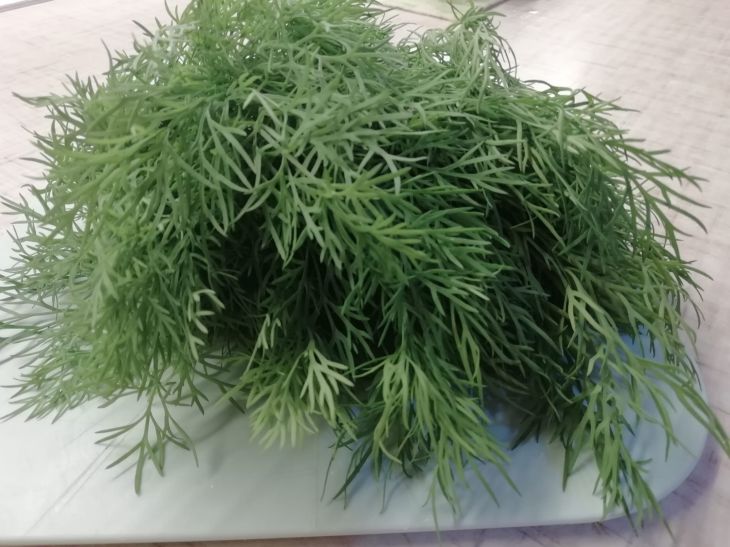
Dill is one of the most popular and beloved green crops, which is highly valued for its unique aroma and rich vitamin content.
It is used in salads, soups, sauces and many other dishes, giving them a special taste and freshness. However, growing dill can be somewhat difficult, especially for novice gardeners.
Anastasia Kovrizhnykh , an expert of the online publication "BelNovosti", an agronomist and landscape designer, told how to act in such a situation.
To get a good harvest of juicy and aromatic greens, you need to know the characteristics of this crop and create optimal conditions for it.
Sunlight: The Key to Good Growth
Dill is a light-loving plant, so open sunny areas should be chosen for its planting.

In the shade, dill will grow poorly, the stems will become thin and elongated, and the aroma will be less pronounced.
The optimal daylight hours for dill are 12-14 hours. If there is insufficient sunlight, additional artificial lighting can be used.
Soil: loose and fertile
Dill prefers loose, fertile soil with a neutral or slightly acidic reaction.
Heavy clay soil is not suitable for growing dill, as it hinders air access to the roots and can lead to rotting of the plants. Before sowing the seeds, it is recommended to dig up the soil and add organic fertilizers such as compost or humus.
Watering: moderate and regular
Dill requires regular and moderate watering. Over-watering of the soil can lead to the development of fungal diseases, and lack of moisture can lead to yellowing and wilting of the leaves.
Dill should be watered as needed, keeping the soil moist but not wet. In hot weather, watering can be increased.
Temperature: comfortable range
Dill is a cold-resistant crop, the seeds of which begin to germinate already at a temperature of +3 °C. The optimal temperature for the growth and development of dill is +18-20 °C. Adult plants can withstand short-term frosts down to -5 °C.
Fertilizers: growth stimulation
To obtain a bountiful harvest, dill is recommended to be fed with complex mineral fertilizers. The first feeding is carried out 2-3 weeks after the emergence of shoots, the second - during the budding period. You can also use organic fertilizers, such as mullein infusion or bird droppings.
Timely sowing: the key to success
Dill can be sown several times per season, starting in early spring and ending in late summer. This will allow you to get fresh greens throughout the gardening season. Dill seeds are sown to a depth of 1-2 cm, keeping a distance of 20-30 cm between rows.
Neighborhood: Choosing the Right Companions
Dill gets along well with many garden crops, such as cucumbers, cabbage, carrots, and beets. It repels pests and improves the taste of neighboring plants. However, it is not recommended to plant dill next to fennel, caraway, and parsley, as they can cross-pollinate and lose their varietal qualities.
Pests and diseases: protecting dill
Dill can be affected by aphids, spider mites, and carrot flies. To combat pests, you can use folk remedies, such as garlic or onion peel infusion, as well as biological preparations. The most common dill diseases are powdery mildew and black leg. To prevent diseases, it is important to follow crop rotation rules, not to thicken plantings, and promptly remove affected plants.
Harvesting: Preserving the aroma
Dill leaves are cut when the plants reach a height of 10-15 cm. Cut the greens as needed, not allowing the plants to bloom, since after flowering the leaves become rough and lose their aroma. Cut greens can be stored in the refrigerator for several days, and also frozen or dried.
Earlier we talked about how to properly water tomatoes so that they don’t get sick and produce a good harvest .


