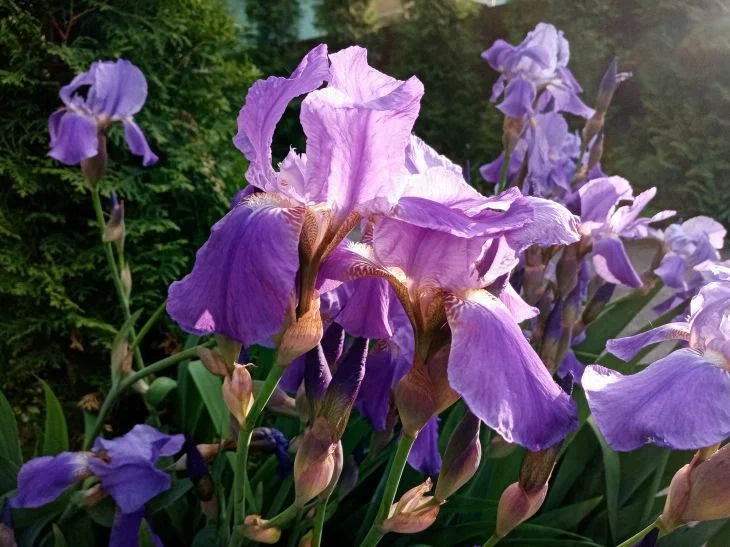
With the arrival of spring, exquisite irises require special care - if you want the plants to delight you with lush and bright flowering.
How to care for these flowers at this time was explained by the expert of the online publication BelNovosti, scientist-agronomist, landscape designer Anastasia Kovrizhnykh .
Trimming
In spring, the first thing you should do is cut off old leaves and flower stalks. After that, the energy of the plants will be directed to the growth of new shoots. Take a sharp pruner and carefully remove damaged and dry parts, leaving only those that are healthy. To avoid damaging the flower, make a cut at the base of the leaf rosette.
Separation
To maintain the decorative appearance of irises in the spring, when new shoots appear, it is recommended to divide them. Carefully inspect the flowerbed and select those bushes that seem to you to be the thickest. Carefully dig them up and divide them into parts using a sharp knife or garden shovel. Repeat this procedure every 3 years.
Transfer
To replant irises, choose a well-lit place with high-quality, drained soil, as irises love sunny areas and do not tolerate stagnant water.

Dig a hole here that is slightly larger than the plant's root system. Carefully place the iris in the hole, spread the roots evenly, then fill the soil around the roots and water the plant.
Top dressing
To ensure lush flowering, fertilize the irises. 21 days after the start of flowering, prepare the fertilizer: mix superphosphate (60 g) and potassium salt (30 g). Apply 15 g of the resulting mixture under each bush at intervals of 14 days.
Earlier, an expert explained whether it is possible to sprinkle ash under peonies.


